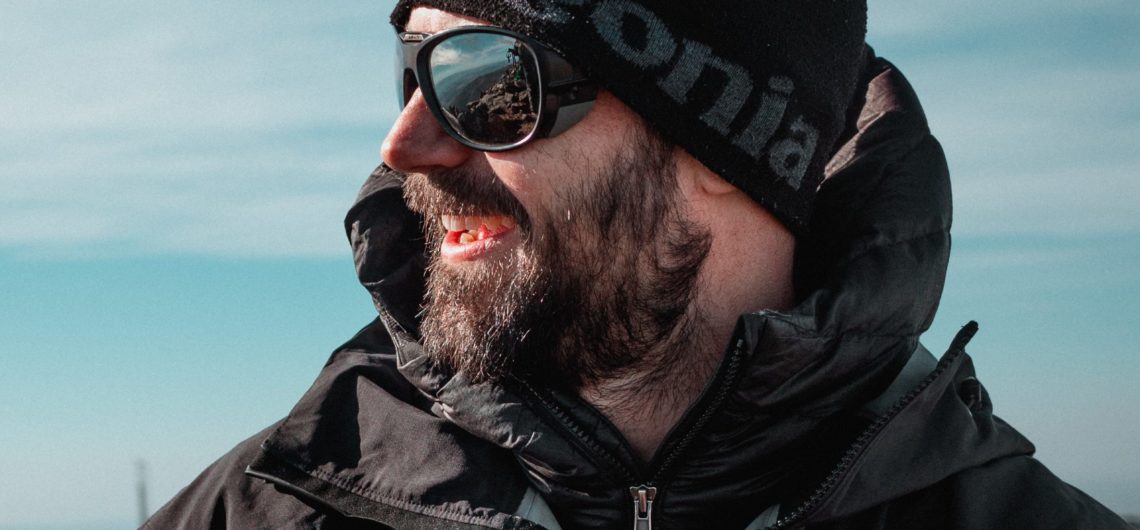
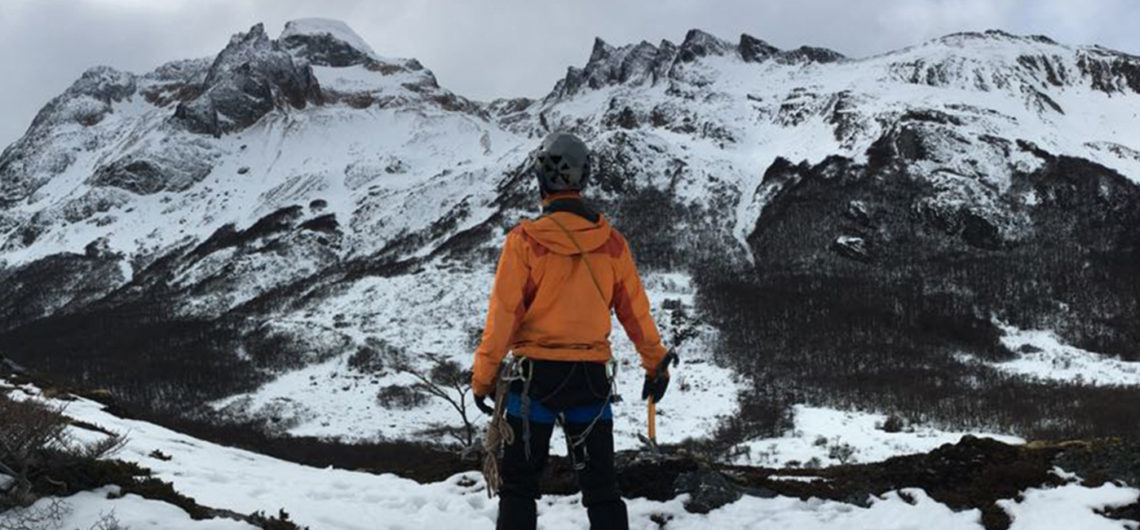
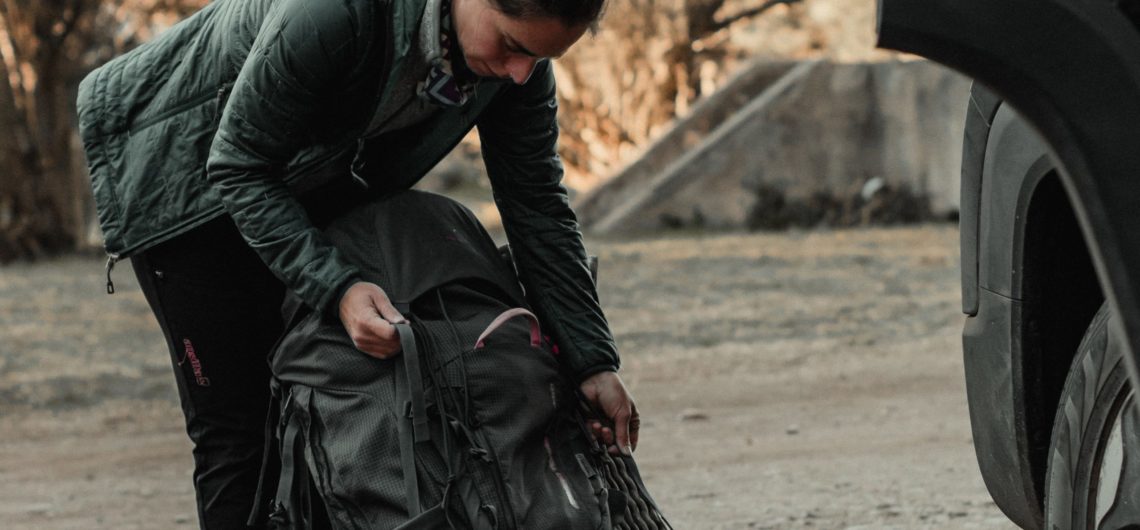
<span style="font-weight: 400;">When you're out in nature, layered clothing becomes your smart technology thermostat: it allows you to regulate your comfort by putting on and taking off "layers" of clothing as your activity level or the weather changes.</span>
<span style="font-weight: 400;">To understand </span><b>how to properly wear layers of clothing for outdoor </b><span style="font-weight: 400;">for outdoor activities, </span><b>we need to know the function of each</b><span style="font-weight: 400;">:</span>
<ul>
<li style="font-weight: 400;" aria-level="1"><b>First Layer</b><span style="font-weight: 400;">: manages moisture and wicks sweat away from the skin.</span></li>
<li style="font-weight: 400;" aria-level="1"><b>Second Layer</b><span style="font-weight: 400;">is insulating and retains body heat to protect you from the cold.</span></li>
<li style="font-weight: 400;" aria-level="1"><b>Third layer</b><span style="font-weight: 400;">protects you from wind and rain.</span></li>
</ul>
<span style="font-weight: 400;">Even if you don't wear all three entry layers, it's a good idea to wear garments that </span><b>to carry garments that fulfill the purpose of each one</b><span style="font-weight: 400;">so that you can shed your clothes if you get warm and always be prepared to deal with wind and rain.</span>
<h2>First Layer: Moisture management</h2>
<span style="font-weight: 400;">It is the layer that </span><b>is attached to the skin and its function is to keep perspiration away from the skin.</b><span style="font-weight: 400;">. Por eso, en condiciones frescas o frías, se necesitan primeras capas tales como interiores térmicos largos y absorbentes, </span><b>to keep your skin dry and prevent you from getting cold.</b><span style="font-weight: 400;">. </span>
<b>Materials:</b>
<span style="font-weight: 400;">You can opt for </span><b>synthetic materials, such as polyester and nylon, or natural fibers, such as merino wool and silk</b><span style="font-weight: 400;">. Todos cumplen su función, pero existen diferencias en cuanto a la absorción, el secado, la retención de olores y la durabilidad. </span>
<b>Weight:</b>
<span style="font-weight: 400;">The options are: </span><b>light, medium and heavy.</b><span style="font-weight: 400;">However, you may also find terms like "ultralight" at one end of the spectrum or "expedition" at the other. Heavier (thicker) fabrics will keep you warmer, although that is not the main purpose of a first layer. </span>
<b>Warm climates:</b>
<span style="font-weight: 400;">Here are some considerations on </span><b>first layers for warm climates</b><span style="font-weight: 400;">:</span>
<ul>
<li style="font-weight: 400;" aria-level="1"><b>Any</b> <b>t-shirt or summer shirt is a good</b><span style="font-weight: 400;"> is a good first layer, especially if it is made of a fabric that </span><b>made of a wicking fabric, as moisture wicks through the fibers</b><span style="font-weight: 400;">moisture is wicked through the fibers and allows evaporation.</span></li>
<li style="font-weight: 400;" aria-level="1"><b>Underwear, such as</b><span style="font-weight: 400;">such as briefs and bras, </span><b>also</b> <b>should also absorb moisture.</b></li>
<li style="font-weight: 400;" aria-level="1"><b>The</b> <b>UPF-rated base layers give you extra sun protection for sunny days.</b><span style="font-weight: 400;"> protection for sunny days.</span></li>
<li style="font-weight: 400;" aria-level="1"><b>Cotton</b><span style="font-weight: 400;">cotton, considered a definite NO in winter, as it absorbs water and in contact with the skin can cool you down, </span><b>is fine</b> <b>if you are outdoors during a super dry summer day.</b><span style="font-weight: 400;">.</span></li>
<li style="font-weight: 400;" aria-level="1"><b>There are</b> <b>membranes designed to cool the skin on hot days, such as fabric impregnated with ceramic particles.</b><span style="font-weight: 400;">such as fabric impregnated with ceramic particles.</span></li>
</ul>
<h2>Second Layer: Insulation and Sheltering</h2>
<span style="font-weight: 400;">The second layer </span><b>is what helps retain the heat radiating from your body.</b><span style="font-weight: 400;">. Como las prendas por sí solas no tienen la capacidad de generar calor, es importante que esta capa sea eficiente. </span>
<b>Interlayer materials:</b>
<span style="font-weight: 400;">There are </span><b>synthetic and natural options</b><span style="font-weight: 400;">. A continuación, analizamos algunos de los </span><b>most common materials</b><span style="font-weight: 400;">:</span>
<ul>
<li style="font-weight: 400;" aria-level="1"><b>Polyester fibers (the old and well-known </b><b><i>polar</i></b><b>):</b><span style="font-weight: 400;">
</span><span style="font-weight: 400;">It is </span><b>available in light, medium and heavy weight versions (sometimes marketed as polar 100, 200 and 300).</b><span style="font-weight: 400;"> (sometimes marketed as polar 100, 200 and 300). </span><b>Keeps you warm</b> <b>even if it gets wet, dries quickly, and is</b><span style="font-weight: 400;"> r</span><b>breathes well</b><span style="font-weight: 400;">. Sin embargo, el viento atraviesa fácilmente las fibras, lo que puede disipar el calor. Algunas prendas traen membranas rompe viento, pero de no ser así, podés combinar tu polar con una tercera capa que sea rompe viento. </span></li>
<li style="font-weight: 400;" aria-level="1"><b>Down jackets:</b><span style="font-weight: 400;">
</span><span style="font-weight: 400;">Being very compressible, </span><b>they take up little space in the backpack</b><span style="font-weight: 400;">. Además, </span><b>offer the best warmth to weight ratio</b><span style="font-weight: 400;">. Las plumas </span><b>can be goose, duck or blended.</b><span style="font-weight: 400;">varying in their compression and heat retention capacities, depending on their fill power (</span><i><span style="font-weight: 400;">fill power</span></i><span style="font-weight: 400;">), ranging from 450 to 900. </span> <b> loses insulating efficiency when wet</b><span style="font-weight: 400;">although there are technologies that minimize this effect.</span><span style="font-weight: 400;">
</span><i><span style="font-weight: 400;">The great disadvantage of the feather is that it comes from animals. There are traceability standards that ensure dignified treatment of the animal. When purchasing these garments, everyone is aware of what they are doing. </span></i></li>
<li style="font-weight: 400;" aria-level="1"><b>Synthetic padded jackets:</b><span style="font-weight: 400;">
</span><span style="font-weight: 400;">Synthetic insulations</span><b> mimic the efficiency of the feather</b><span style="font-weight: 400;"> and every year they are getting a little closer to this standard. Although synthetic fibers do not compress as well as goose down, </span> <span style="font-weight: 400;">are a popular </span><b>popular choice for rainy conditions</b><span style="font-weight: 400;">conditions, as they </span><b>maintain insulation capacity when wet.</b></li>
</ul>
<h2>Third Layer: Climate protection</h2>
<span style="font-weight: 400;">The third layer </span><b>protects you from wind, rain and snow. </b> <span style="font-weight: 400;">The so-called </span><i><span style="font-weight: 400;">parkas</span></i><span style="font-weight: 400;"> are a fundamental piece of your equipment, because if wind and water seep into the inner layers, you can get seriously chilled.</span>
<span style="font-weight: 400;">Most are treated with durable water repellent (DWR), so that water is quickly wicked away from the fabric.</span>
<span style="font-weight: 400;">They can be grouped into the following categories:</span>
<ul>
<li style="font-weight: 400;" aria-level="1"><b>Waterproof / breathable parkas:</b><span style="font-weight: 400;">
</span><span style="font-weight: 400;">It is the </span><b>most functional option</b><span style="font-weight: 400;"> for adverse weather conditions, although it is also the most </span><b>also the most expensive</b><span style="font-weight: 400;">. Existen variedad de membranas en el mercado, siendo Gore-Tex la más conocida. </span></li>
<li style="font-weight: 400;" aria-level="1"><b>Water resistant / breathable parkas:</b><span style="font-weight: 400;">
</span><span style="font-weight: 400;">They are </span><b>are best suited for drizzle, wind and high levels of activity.</b><span style="font-weight: 400;"> They are also </span><b>they are more economical</b><span style="font-weight: 400;">. Están hechas de telas de nailon o poliéster apretado, que permiten bloquear el viento y la lluvia ligeros. </span></li>
<li style="font-weight: 400;" aria-level="1"><b>Soft parkas (</b><b><i>soft shells</i></b><b>):</b><span style="font-weight: 400;">
</span><span style="font-weight: 400;">Emphasize breathability and are technical garments designed for activity in wet conditions. </span><b>designed for activity in wet conditions.</b><span style="font-weight: 400;">. La mayoría cuenta con paneles de tela elástica donde el ejercicio lo requiere. </span></li>
<li style="font-weight: 400;" aria-level="1"><b>Waterproof / non-breathable parkas:</b><span style="font-weight: 400;">
</span><span style="font-weight: 400;">These basic parkas are fine for </span><b>for rainy days with little or no activity. </b> <span style="font-weight: 400;">(e.g. fishing). They are usually made of coated nylon, which is water and wind resistant. </span></li>
</ul>
<h2>Some examples</h2>
<span style="font-weight: 400;">We are often asked </span><b>how to apply coatings for a given climate</b><span style="font-weight: 400;">. Sin embargo, cualquier sugerencia basada únicamente en el clima, pasa por alto temas claves, como el nivel de esfuerzo y el metabolismo personal. </span>
<span style="font-weight: 400;">Therefore, the examples below are for a hypothetical person, who is not particularly hot or cold naturally and who is going to do a half-day trekking, intermediate level:</span>
<ul>
<li style="font-weight: 400;" aria-level="1"><b>Layers for cold weather (some wind):</b><span style="font-weight: 400;">
</span><span style="font-weight: 400;">Top, long thermal interiors; underneath, medium polyester interiors. Lightweight warm jacket with synthetic insulation. Medium trekking pants. Jacket and pants </span> <i><span style="font-weight: 400;"> windbreaker</span></i><span style="font-weight: 400;">/breathable (can be waterproof jacket and pants).</span></li>
<li style="font-weight: 400;" aria-level="1"><b>Rainy weather layers (cool temperatures):</b><span style="font-weight: 400;">
</span><span style="font-weight: 400;">Top, long thermal underwear; underneath, lightweight polyester underwear. Lightweight breathable micro fleece. Synthetic trekking pants. Lightweight, waterproof and breathable jacket and pants (with open vents). </span></li>
<li style="font-weight: 400;" aria-level="1"><b>Layers for warm weather:</b><span style="font-weight: 400;">
</span><span style="font-weight: 400;">Polyester underwear and short-sleeved synthetic T-shirt. Convertible trekking pants. Jacket </span> <i><span style="font-weight: 400;"> breaks wind</span></i><span style="font-weight: 400;"> light.</span></li>
</ul>
<span style="font-weight: 400;">It is essential that you take the necessary time to adjust the </span><b><i>adjust</i></b><b> the layers as conditions change.</b><span style="font-weight: 400;">. Por ejemplo, si la lluvia y el viento disminuyen, podés guardar la campera impermeable. Si el trekking no te hace entrar en calor rápidamente, arrancá la caminata con una capa intermedia. Luego, mantenela a mano para los momentos de descanso o de hidratación. </span>
When you’re out in nature, layered clothing becomes your smart technology thermostat: it allows you to regulate your comfort by putting on and taking off “layers” of clothing as your activity level or the weather changes.
To understand how to properly wear layers of clothing for outdoor for outdoor activities, we need to know the function of each:
- First Layer: manages moisture and wicks sweat away from the skin.
- Second Layeris insulating and retains body heat to protect you from the cold.
- Third layerprotects you from wind and rain.
Even if you don’t wear all three entry layers, it’s a good idea to wear garments that to carry garments that fulfill the purpose of each oneso that you can shed your clothes if you get warm and always be prepared to deal with wind and rain.
First Layer: Moisture management
It is the layer that is attached to the skin and its function is to keep perspiration away from the skin.. Por eso, en condiciones frescas o frías, se necesitan primeras capas tales como interiores térmicos largos y absorbentes, to keep your skin dry and prevent you from getting cold..
Materials:
You can opt for synthetic materials, such as polyester and nylon, or natural fibers, such as merino wool and silk. Todos cumplen su función, pero existen diferencias en cuanto a la absorción, el secado, la retención de olores y la durabilidad.
Weight:
The options are: light, medium and heavy.However, you may also find terms like “ultralight” at one end of the spectrum or “expedition” at the other. Heavier (thicker) fabrics will keep you warmer, although that is not the main purpose of a first layer.
Warm climates:
Here are some considerations on first layers for warm climates:
- Any t-shirt or summer shirt is a good is a good first layer, especially if it is made of a fabric that made of a wicking fabric, as moisture wicks through the fibersmoisture is wicked through the fibers and allows evaporation.
- Underwear, such assuch as briefs and bras, also should also absorb moisture.
- The UPF-rated base layers give you extra sun protection for sunny days. protection for sunny days.
- Cottoncotton, considered a definite NO in winter, as it absorbs water and in contact with the skin can cool you down, is fine if you are outdoors during a super dry summer day..
- There are membranes designed to cool the skin on hot days, such as fabric impregnated with ceramic particles.such as fabric impregnated with ceramic particles.
Second Layer: Insulation and Sheltering
The second layer is what helps retain the heat radiating from your body.. Como las prendas por sí solas no tienen la capacidad de generar calor, es importante que esta capa sea eficiente.
Interlayer materials:
There are synthetic and natural options. A continuación, analizamos algunos de los most common materials:
- Polyester fibers (the old and well-known polar):
It is available in light, medium and heavy weight versions (sometimes marketed as polar 100, 200 and 300). (sometimes marketed as polar 100, 200 and 300). Keeps you warm even if it gets wet, dries quickly, and is rbreathes well. Sin embargo, el viento atraviesa fácilmente las fibras, lo que puede disipar el calor. Algunas prendas traen membranas rompe viento, pero de no ser así, podés combinar tu polar con una tercera capa que sea rompe viento.
- Down jackets:
Being very compressible, they take up little space in the backpack. Además, offer the best warmth to weight ratio. Las plumas can be goose, duck or blended.varying in their compression and heat retention capacities, depending on their fill power (fill power), ranging from 450 to 900. loses insulating efficiency when wetalthough there are technologies that minimize this effect.
The great disadvantage of the feather is that it comes from animals. There are traceability standards that ensure dignified treatment of the animal. When purchasing these garments, everyone is aware of what they are doing.
- Synthetic padded jackets:
Synthetic insulations mimic the efficiency of the feather and every year they are getting a little closer to this standard. Although synthetic fibers do not compress as well as goose down, are a popular popular choice for rainy conditionsconditions, as they maintain insulation capacity when wet.
Third Layer: Climate protection
The third layer protects you from wind, rain and snow. The so-called parkas are a fundamental piece of your equipment, because if wind and water seep into the inner layers, you can get seriously chilled.
Most are treated with durable water repellent (DWR), so that water is quickly wicked away from the fabric.
They can be grouped into the following categories:
- Waterproof / breathable parkas:
It is the most functional option for adverse weather conditions, although it is also the most also the most expensive. Existen variedad de membranas en el mercado, siendo Gore-Tex la más conocida.
- Water resistant / breathable parkas:
They are are best suited for drizzle, wind and high levels of activity. They are also they are more economical. Están hechas de telas de nailon o poliéster apretado, que permiten bloquear el viento y la lluvia ligeros.
- Soft parkas (soft shells):
Emphasize breathability and are technical garments designed for activity in wet conditions. designed for activity in wet conditions.. La mayoría cuenta con paneles de tela elástica donde el ejercicio lo requiere.
- Waterproof / non-breathable parkas:
These basic parkas are fine for for rainy days with little or no activity. (e.g. fishing). They are usually made of coated nylon, which is water and wind resistant.
Some examples
We are often asked how to apply coatings for a given climate. Sin embargo, cualquier sugerencia basada únicamente en el clima, pasa por alto temas claves, como el nivel de esfuerzo y el metabolismo personal.
Therefore, the examples below are for a hypothetical person, who is not particularly hot or cold naturally and who is going to do a half-day trekking, intermediate level:
- Layers for cold weather (some wind):
Top, long thermal interiors; underneath, medium polyester interiors. Lightweight warm jacket with synthetic insulation. Medium trekking pants. Jacket and pants windbreaker/breathable (can be waterproof jacket and pants).
- Rainy weather layers (cool temperatures):
Top, long thermal underwear; underneath, lightweight polyester underwear. Lightweight breathable micro fleece. Synthetic trekking pants. Lightweight, waterproof and breathable jacket and pants (with open vents).
- Layers for warm weather:
Polyester underwear and short-sleeved synthetic T-shirt. Convertible trekking pants. Jacket breaks wind light.
It is essential that you take the necessary time to adjust the adjust the layers as conditions change.. Por ejemplo, si la lluvia y el viento disminuyen, podés guardar la campera impermeable. Si el trekking no te hace entrar en calor rápidamente, arrancá la caminata con una capa intermedia. Luego, mantenela a mano para los momentos de descanso o de hidratación.


